Getting that perfect crispy crust on chicken tenders without the mess of deep-frying has always been my small kitchen victory. I’ve experimented with oven-baking for years, trying to find the right balance of crunch and juiciness, and I finally settled on a method that’s simple, reliable, and downright satisfying. No greasy splatters, just a warm oven doing all the work.
This recipe is my go-to for busy weeknights or when I want something comforting but don’t want to fuss. The smell of baking chicken, with hints of toasted coating and a little garlic, fills the kitchen and makes everyone’s stomach rumble. Plus, it’s a kid-friendly trick that actually works — crispy outside, tender inside, and all made with pantry staples.
Focusing on achieving a crispy crust without deep-frying, using only the oven and a simple coating technique.
The story behind this recipe
- I remember the first time I tried baking chicken tenders that actually looked crispy and appealing without all the oil splatters. It was a small victory that made me realize there’s a way to get that satisfying crunch without deep-frying mess. Since then, I’ve been tweaking and testing, aiming for a coating that sticks well and crisps up in the oven.
- This recipe came out of those experiments—something I make when I want comfort food with no fuss. The smell of toasted coating and tender chicken fills the house, and it’s always a hit with kids and adults alike. It’s honest, straightforward, and reminds me that sometimes, simple wins.
- heading: The story behind this recipe
Ingredient breakdown: key components
- Chicken breasts: I prefer boneless, skinless for even cooking and less waste. If yours are thicker, pound them to an even thickness to ensure uniform crispness.
- Breadcrumbs: I use panko for that extra crunch, but regular fine breadcrumbs work too—just double the cooking time for extra crisping if using finer crumbs.
- Egg wash: It helps the coating stick. For a quicker fix, a splash of buttermilk mixed with a little hot sauce adds flavor and helps the coating adhere better.
- Seasonings: I like a simple mix of salt, pepper, and paprika, but add a pinch of garlic powder or cayenne if you want a little kick. Brightens the flavor and adds depth.
- Oil spray: I use a light spray of vegetable or avocado oil to promote even browning and crispness. Too much, and they’ll get greasy, so keep it light—just a mist.
- Lemon: A squeeze of fresh lemon after baking brightens the whole dish. It cuts through the richness and adds a fresh, zesty punch that livens up every bite.
- Optional: Parmesan cheese: I sprinkle a little grated Parmesan on the coating for a savory, umami boost. It’s subtle but makes a noticeable difference in flavor.
Spotlight on key ingredients
Breadcrumbs:
- Chicken breasts: I prefer boneless, skinless for even cooking and less waste. If yours are thicker, pound them to an even thickness to ensure uniform crispness.
- I use panko for that extra crunch, but regular fine breadcrumbs work too—just double the cooking time for extra crisping if using finer crumbs.
- Egg wash: It helps the coating stick. For a quicker fix, a splash of buttermilk mixed with a little hot sauce adds flavor and helps the coating adhere better.
Lemon and seasonings:
- Lemon: A squeeze of fresh lemon after baking brightens the whole dish. It cuts through the richness and adds a fresh, zesty punch that livens up every bite.
- Seasonings: I like a simple mix of salt, pepper, and paprika, but add a pinch of garlic powder or cayenne if you want a little kick. Brightens the flavor and adds depth.
Notes for ingredient swaps
- Dairy-Free: Swap regular eggs for a flaxseed or chia seed mixture—adds a nutty flavor and works well as a binder.
- Gluten-Free: Use almond flour or coconut flour instead of all-purpose flour—these keep the coating crispy without gluten.
- Crumb Texture: If panko isn’t available, crushed cornflakes or crispy rice cereal can give a nice crunch and golden color.
- Spice Level: Skip paprika or cayenne if you want milder tenders, or add a pinch of cumin for a smoky undertone.
- Oil Spray: Use avocado or light olive oil spray for a more neutral flavor and healthier fat, helping browning without greasiness.
- Lemon Brightness: Substitute lemon with lime or vinegar for acidity, which can enhance the seasoning and cut through richness.
- Herb Variations: Add dried oregano, thyme, or parsley to the breadcrumb mixture for extra flavor and visual appeal.
Equipment & Tools
- Baking sheet with wire rack: Ensures even heat circulation and crispy coating
- Shallow dishes: For coating stations—flour, egg, and breadcrumb mixes
- Tongs: Handles chicken strips without mess or contamination
- Parchment paper: Prevents sticking and makes cleanup easier
- Meat thermometer: Checks internal chicken temperature for safety
Step-by-step guide to baked chicken tenders
- Preheat your oven to 200°C (400°F). Use a baking sheet lined with parchment paper or a wire rack set over a tray for even crisping.
- Prepare your equipment: a shallow dish for the flour, a second for the beaten eggs, and a third for the panko breadcrumb mixture. A pair of tongs helps handle the tenders without mess.
- Cut chicken breasts into uniform strips, about 1 inch wide. Pound slightly if needed for even thickness.
- In the first dish, mix flour with a pinch of salt and pepper. In the second, beat eggs with a splash of water or hot sauce. In the third, combine panko with paprika, garlic powder, and a little salt.
- Dip each chicken strip into the flour, shaking off excess. Then, coat in egg wash, letting excess drip off. Finally, dredge in panko mixture, pressing lightly to adhere.
- Place the coated tenders on the prepared baking sheet, spaced out. Lightly spray with oil to promote browning.
- Bake in the oven for 20–25 minutes, turning once halfway through. They should turn golden and crispy around the edges.
- Check for doneness: the coating should be crispy and golden, and the chicken should reach an internal temperature of 75°C (165°F).
- Remove from oven and let rest for 3–5 minutes. This helps juices settle and keeps the coating intact.
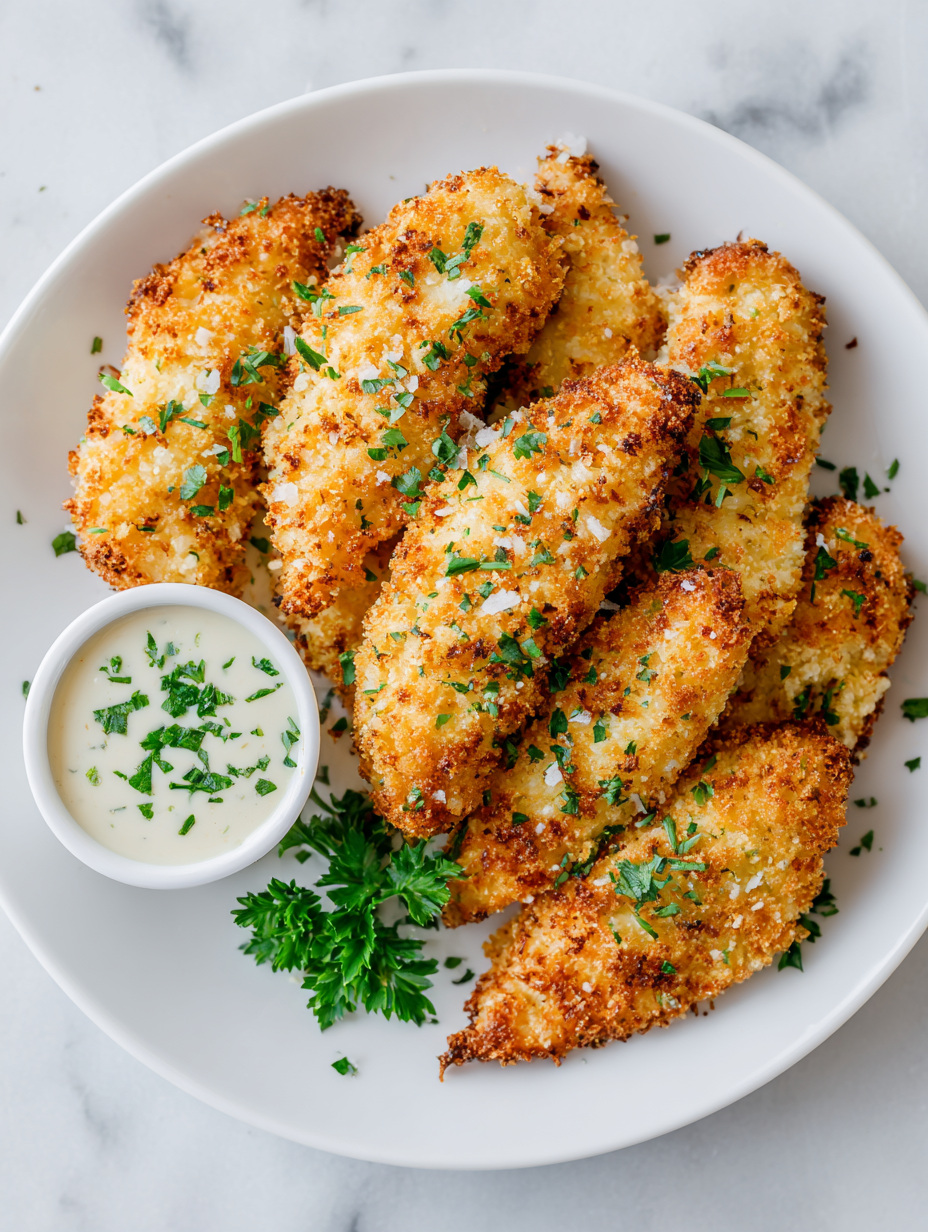
- Serve with a squeeze of lemon or your favorite dipping sauce. Enjoy the crispy, juicy bite!
Let the tenders rest for 3–5 minutes on a cooling rack. Plate and serve immediately with lemon wedges or dips, allowing the crust to stay crispy and the juices to settle.
How to Know It’s Done
- Coating is golden and crispy, with an even color.
- Internal temperature of chicken reaches 75°C (165°F).
- Juices run clear when pierced, with no pink inside.
Oven-Baked Crispy Chicken Tenders
Ingredients
Equipment
Method
- Preheat your oven to 200°C (400°F) and line a baking sheet with parchment paper or set a wire rack over it for even crisping.
- Cut the chicken breasts into 1-inch wide strips and gently pound them to an even thickness—this helps them cook uniformly and get crispy all around.
- Set up three shallow dishes: one with seasoned flour, another with beaten eggs (mixed with a splash of water or hot sauce), and the third with panko breadcrumbs mixed with paprika, salt, and pepper.
- Dip each chicken strip into the flour, shaking off any excess to ensure a light coating.
- Next, coat the floured chicken in the egg wash, letting any excess drip off.
- Finally, press the chicken into the panko mixture, ensuring it’s evenly coated and the crumbs stick well.
- Place the coated chicken tenders on the prepared baking sheet or wire rack, spacing them out to allow hot air circulation for maximum crispness.
- Lightly spray the tenders with oil to help them brown and crisp up in the oven.
- Bake for 20–25 minutes, flipping once halfway through, until they’re golden brown and crispy around the edges.
- Check for doneness with a meat thermometer—internal temperature should reach 165°F (75°C)—and ensure the coating is crispy and golden.
- Remove from the oven and squeeze fresh lemon juice over the tenders for a bright, zesty finish.
- Serve immediately while hot and crispy, with your favorite dipping sauces or a simple squeeze of lemon for extra freshness.
Pro tips for crispy baked tenders
- Use panko breadcrumbs for maximum crunch and a light, airy texture that crisps beautifully.
- Spray the coated tenders lightly with oil before baking to encourage even browning and help the crust crisp up.
- Keep chicken strips uniform in size for consistent cooking and browning; pound thicker pieces to match.
- Bake on a wire rack set over a baking sheet to allow hot air to circulate and prevent sogginess.
- For extra flavor, mix a pinch of smoked paprika into your breadcrumb coating for a subtle smoky aroma.
- Check doneness by internal temperature—165°F (75°C)—and ensure the coating is golden and crispy.
- Rest the tenders for 3–5 minutes after baking to let juices redistribute and keep the crust intact.
Common mistakes and how to fix them
- FORGOT to preheat oven → Always preheat for even cooking and crispiness.
- DUMPED coating unevenly → Pat chicken dry for better coating adhesion.
- OVER-TORCHED breadcrumbs → Reduce oven temp or shorten baking time if burnt.
- MISSED resting time → Let cooked tenders rest 3–5 minutes to keep juices in.
Quick fixes and pantry swaps
- When chicken sticks, splash a bit of water under the tenders to loosen.
- If coating isn’t crispy, bump oven to 220°C (430°F) and bake 2 more minutes.
- Dumped seasoned crumbs—add a touch more oil and toss again for better adhesion.
- Overcooked tenders? Reduce oven temperature and check at 18 minutes for perfect crispness.
- Shield burnt breadcrumbs with foil and extend baking time for even browning.
Prep, store, and reheat tips
- Prep the chicken tenders: cut, pound, and coat them earlier in the day, then refrigerate for up to 24 hours, keeping them chilled to maintain freshness and prevent bacteria growth.
- Store cooked tenders in an airtight container in the fridge for up to 3 days. They retain crispness best if reheated properly; avoid sogginess by keeping them uncovered or loosely covered.
- Reheat in the oven at 180°C (350°F) for 10–12 minutes, or until warmed through and crispy again. The smell of toasted coating and tender chicken will tell you they’re ready.
- For freezing, arrange unbaked coated tenders on a baking sheet and freeze until solid, then transfer to a zip-top bag. Bake directly from frozen, adding a few extra minutes, until golden and internal temp hits 75°C (165°F).
- Reheated tenders will lose some crispness but should still be juicy inside. For best results, reheat in a hot oven or toaster oven, and serve immediately to preserve that satisfying crunch.
Top questions about baked chicken tenders
1. How do I ensure the tenders cook evenly?
Use chicken breasts that are evenly shaped and pounded to an even thickness for consistent baking and crisping.
2. What temperature and time are best?
Bake at 400°F (200°C) until golden and crispy, about 20-25 minutes, flipping halfway for even browning.
3. How do I know when they’re done?
Check for an internal temp of 165°F (75°C) and a crispy, golden crust. The chicken should feel firm and the coating crackly.
4. How can I make them extra crispy?
Spray lightly with oil before baking to boost crispness, and use a wire rack to prevent sogginess.
5. Can I substitute the breadcrumbs?
Use panko breadcrumbs for maximum crunch. For gluten-free, try crushed cornflakes or rice cereal for similar texture.
6. How long do leftovers last and how to reheat?
Store leftovers in an airtight container in the fridge for up to 3 days. Reheat in the oven at 350°F (180°C) until crispy again.
7. Can I freeze these?
Yes, you can freeze coated tenders on a tray, then transfer to a bag. Bake directly from frozen, adding a few minutes.
8. Why isn’t the coating sticking properly?
If the coating isn’t sticking, pat chicken dry, and ensure the egg wash is evenly coated. Also, press crumbs gently onto the chicken.
9. How can I add more flavor to the coating?
Add a pinch of smoked paprika or garlic powder to the breadcrumbs for extra flavor and aroma.
10. What are visual signs the tenders are cooked?
Use a meat thermometer to check that the chicken reaches 165°F (75°C). Visual cues include a golden crust and firm texture.
Cooking these baked chicken tenders is a small act of patience and care, but the result is worth it—crisp, tender, and perfectly seasoned. It’s one of those recipes that makes you feel a little proud every time, especially when you see the golden crust and hear that satisfying crackle. In a busy week, it’s a simple way to turn everyday ingredients into something comforting and real.
Sometimes, it’s the little kitchen wins—like the smell of toasted breadcrumbs and warm chicken—that remind me why I cook. These tenders are honest food, straightforward and unpolished, but they deliver on flavor and texture every single time. That’s what makes them a favorite around here, no matter how many times I make them.

Hi, I’m Michael Anderson, the voice behind Overreacting To Salt. Yes, the name usually gets a laugh. And no, I am not actually afraid of salt. In fact, understanding salt and flavor balance is what inspired this entire blog.
 The voice behind Overreacting To Salt. Yes, the name usually gets a laugh. And no, I am not actually afraid of salt. In fact, understanding salt and flavor balance is what inspired this entire blog.
Overreacting To Salt is my space to talk honestly about cooking mistakes, kitchen wins, and the small details that make a big difference in flavor. I created it for home cooks who want to understand food better without feeling intimidated.
The voice behind Overreacting To Salt. Yes, the name usually gets a laugh. And no, I am not actually afraid of salt. In fact, understanding salt and flavor balance is what inspired this entire blog.
Overreacting To Salt is my space to talk honestly about cooking mistakes, kitchen wins, and the small details that make a big difference in flavor. I created it for home cooks who want to understand food better without feeling intimidated.


